Tuesday 19 November 2013

Burntside Hill terrain part 4

I want the terrain to be heavily grassed with few areas of the earth showing, the area of Goose Green is really undulating grassland of quite a monotonous colour but rough in places, the 2 photos below give an idea of the look I'm after.


I'll be showing this section of Camilla Creek to illustrate the tecniques I've used, the ground's been given the very dark damp earth colour, then very gently drybrushed up I wanted to keep the base colour quite dark so the lighter shades have to be quite gentle. The shot shows the grass cover on, I'll do some close ups I've tried to achieve the heavily covered look this park of the Falklands doesn't have the rockruns etc. I'll do some closer shots tomorrow, the shades on the photo are a little off, it looks nicer in the flesh and I'm quite pleased
Dougie

Monday 18 November 2013

Burntside Hill terrain part 3

Got all the contours sanded, the "Hills" in question were very low level not much more than raised ground really so I wanted quite a gentle unassuming look to them. The craftfoam is easy to sand with normal sandpaper. For the tracks I've just sanded a shallow cutting into the foam, we're not talking roads here!
The photo below shows one of the boards after sanding, you can see where the hot wired stream edges have been sanded and the track cut into the surface.
The next stage is to paint the ground areas with Polycell rough ceiling paint, this gives the terrain some texture and blends edges.
Next we'll be getting some colour on the boards! Dougie

Burntside Hill terrain part 2

The tile basics now done, the blue craftfoam's been cut with a hotwire and attached to the MDF tiles, the photo below shows the terrain layout, its quite compact 150cm x 120cm. The second photo shows a closeup, all the craft foam is attached with Evo-Stik PVA, next job is to sand the contours smooth. Dougie

Tuesday 12 November 2013

Burntside Hill terrain Part 1

Here's the plan for the board, the large squares are 500mm x 500mm and the 3 water strips on the left hand side are 500mm x 210mm. Basically the terrain from top to bottom is as follows, on the west the Isthmus ends with Camilla Creek, at the top left is Burntside Hill itself,  heading south we cross a stream running into Camilla Creek we then hit more high ground at Coronation Ridge. On the east side of the board we have relatively flat terrain with the track linking Low Pass in the north to the settlements of Darwin and Goose Green in the south. Dougie
The MDF is all cut, B&Q did a really good job, quite impressed!

Monday 11 November 2013

Smoggycon Game - Burntside Hill Goose Green Falklands 1982 in 10mm

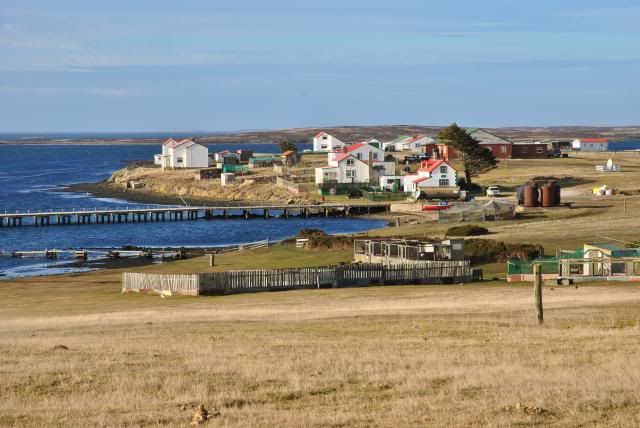
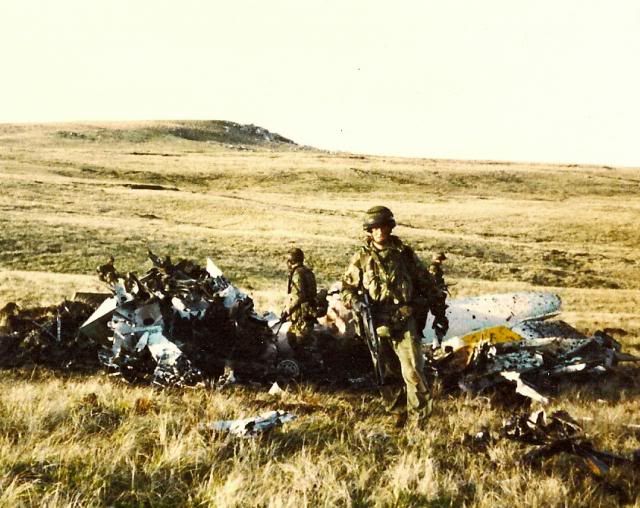
I'm putting on a demo game at Smoggycon this year. It is a refight of B Company 2PARA assaulting Burntside Hill at the start of the battle of Goose Green. This action occurred just after B Coy crossed their startline in darkness on the western side of the Goose Green Isthmus.
Goose green is covered in a number of books. "Goose Green - A battle is fought to be won" by Mark Adkin was published in 1992 and for many this is the book to read. However any student of the Falklands Campaign must read "Not mentioned in despatches - The history and Mythology of the Battle of Goose Green" by Spencer Fitz-Gibbon. This is hard reading, it shatters many illusions but for the good, read this book if you can get a copy!

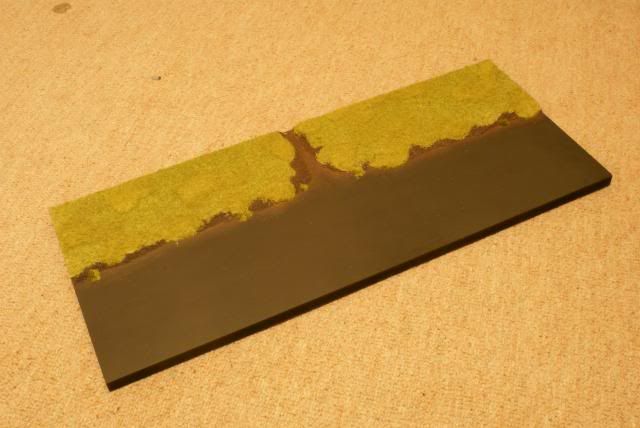
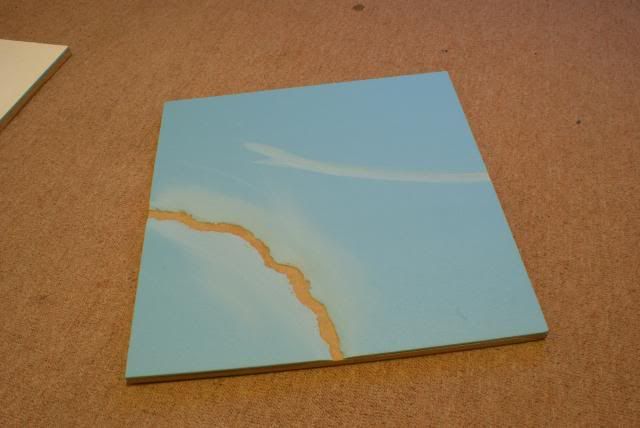
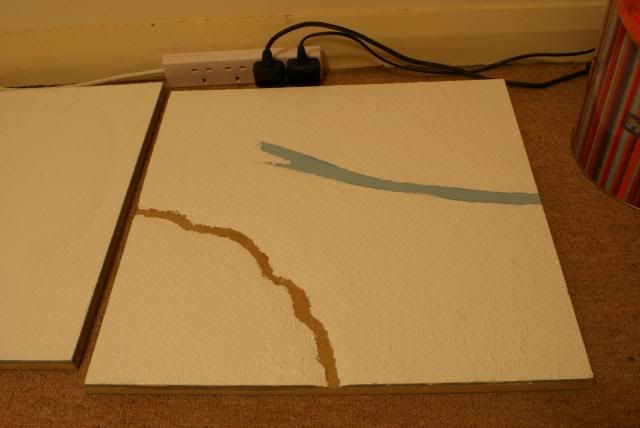
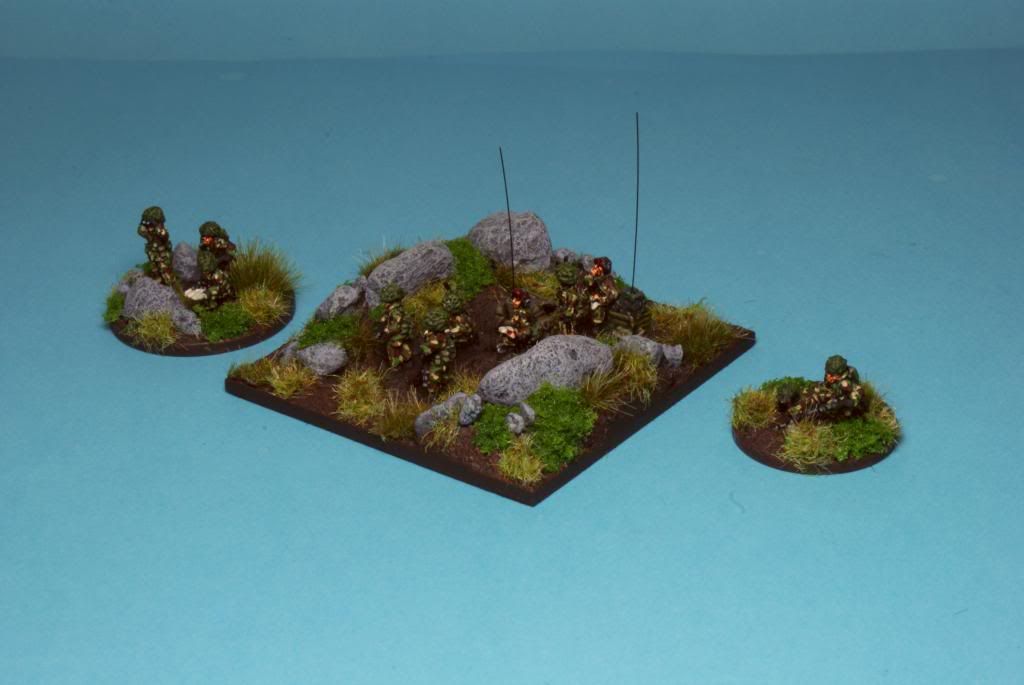
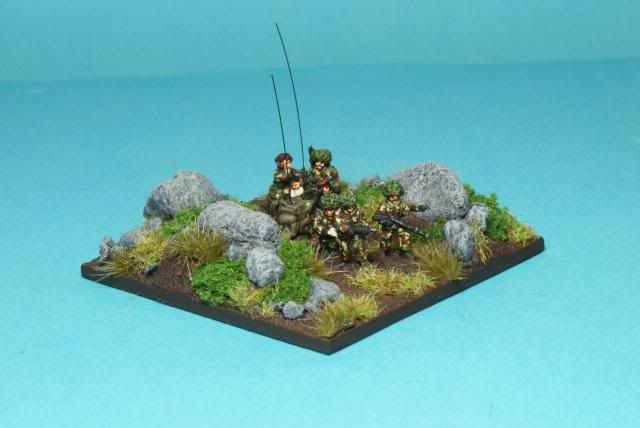
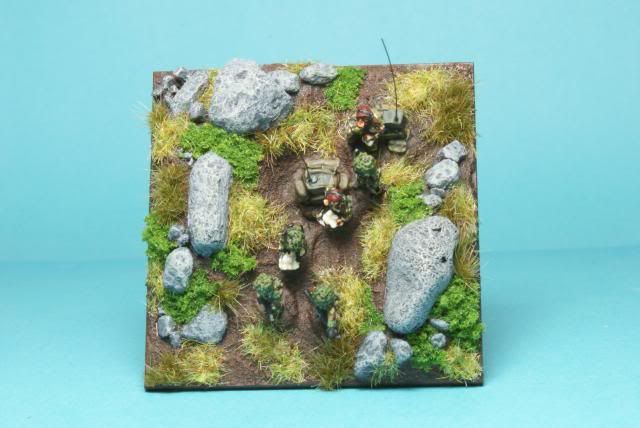
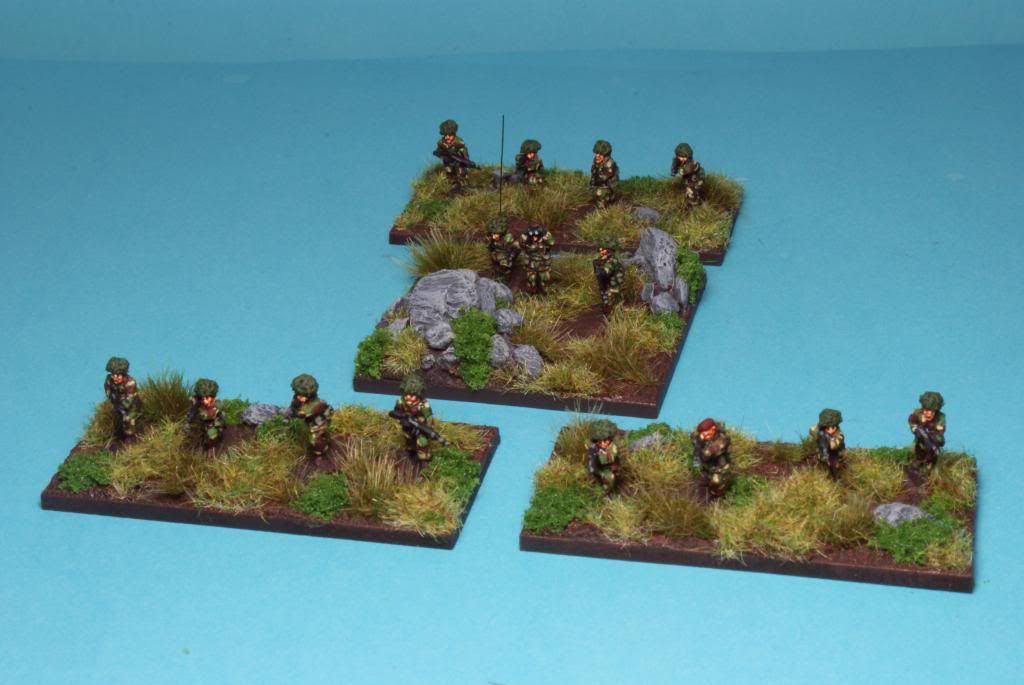
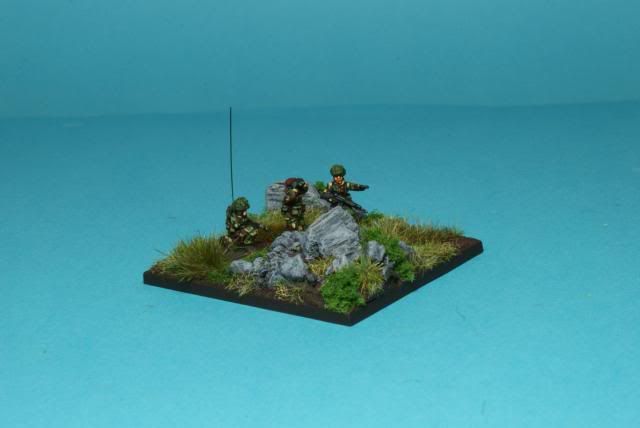
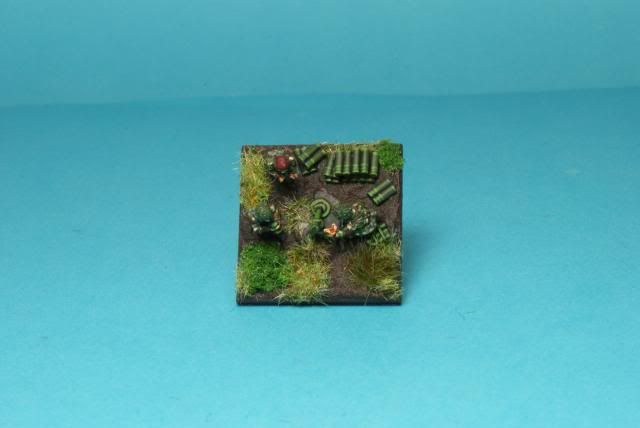
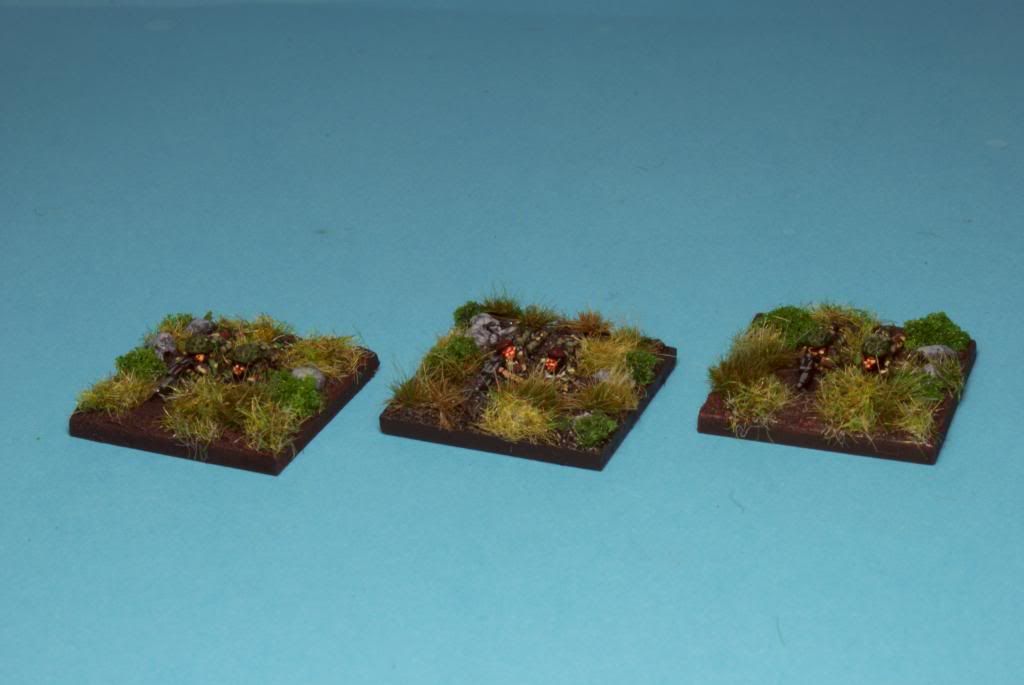
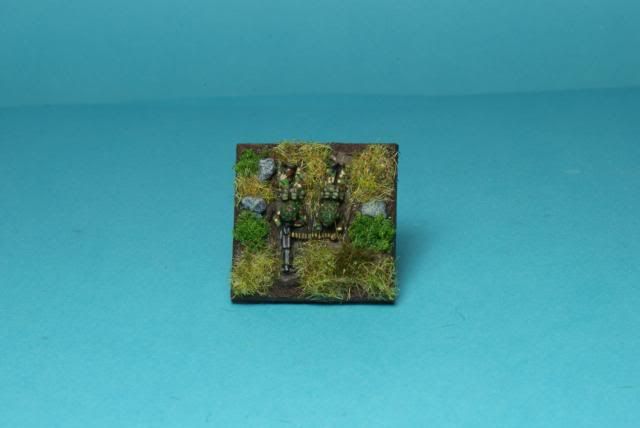
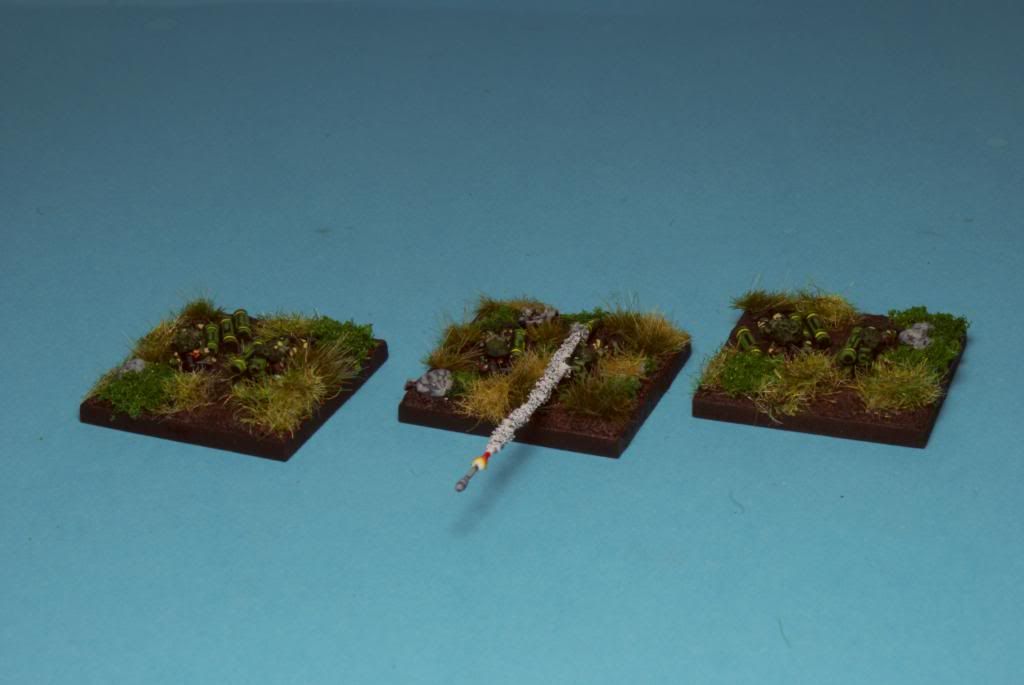
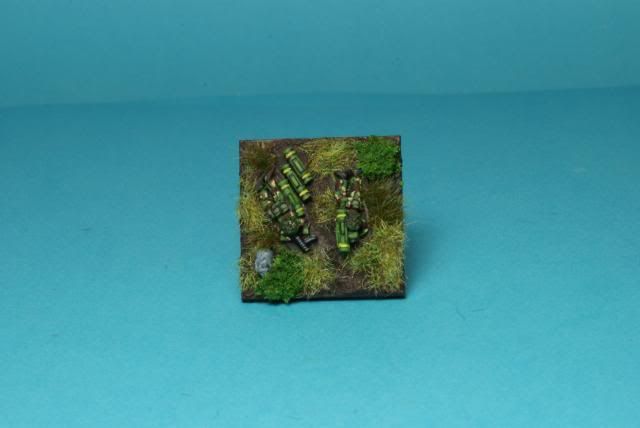
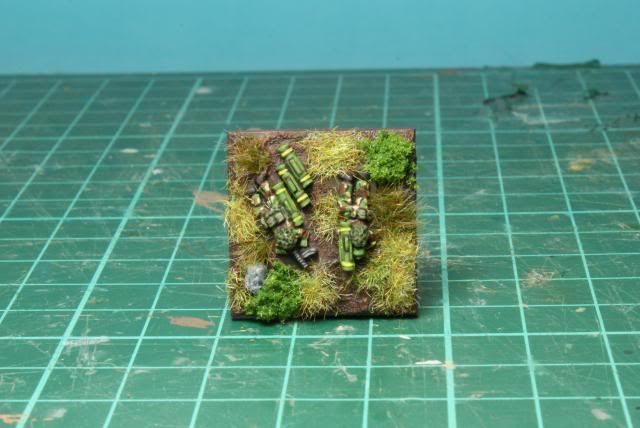
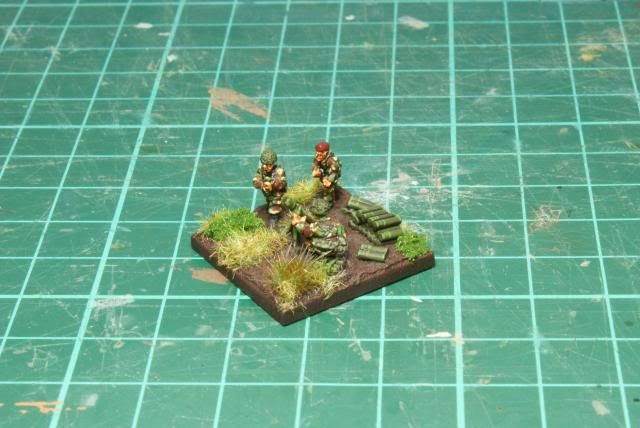
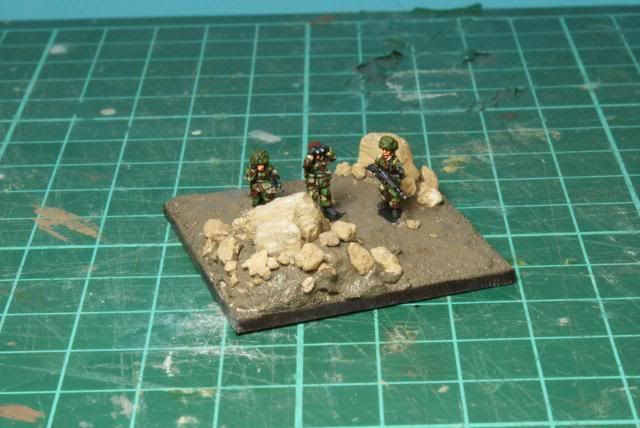
All the figures are done now and illustrated in previous posts, for the demo we'll be using CWC, each infantry stand representing a section. The terrain is purpose built by myself, it has been simplified a little but the main features are present. I wanted it geomorphic so my 20mm guys could use it as well!
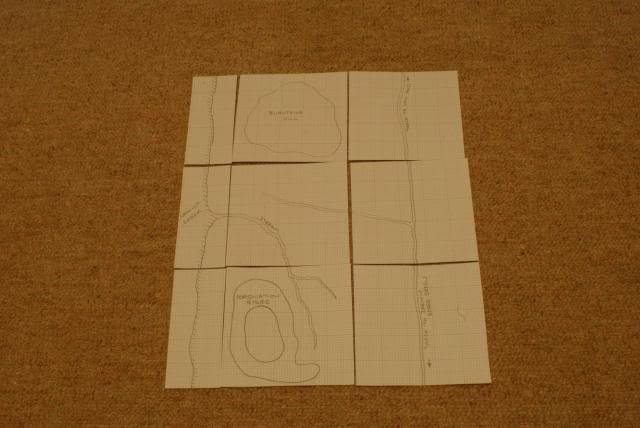
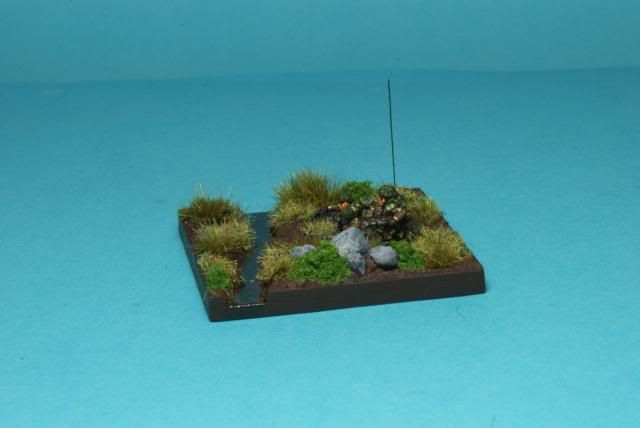
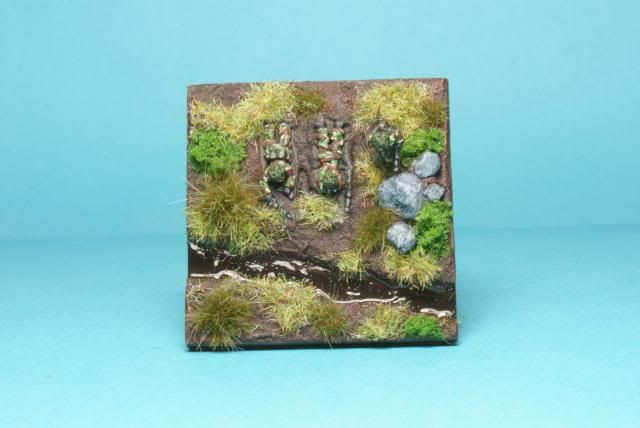
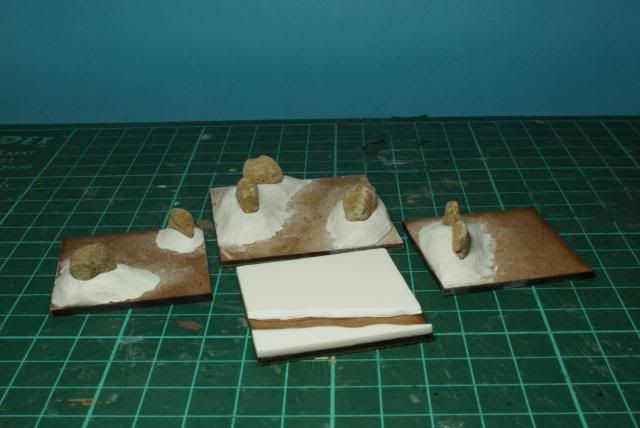
The terrain is composed of terrain tiles 500mm x 500mm, there's 6 forming the battlefield and 3 smaller sections representing Camilla Creek.
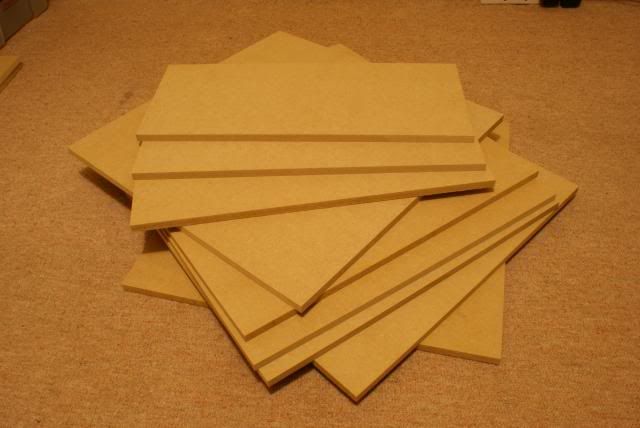
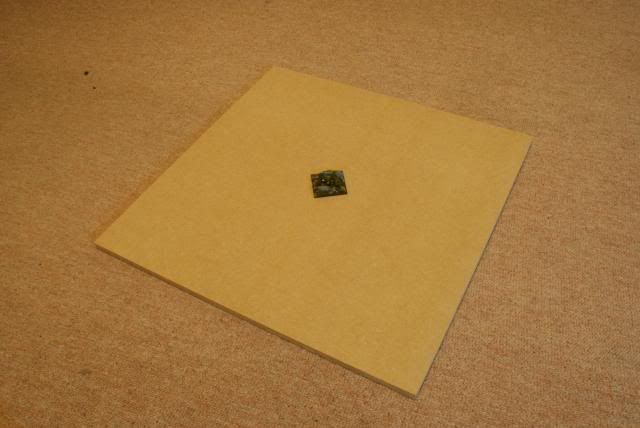
All the tiles are made from a base of 12mm MDF. I got a large sheet from B&Q for £19, they cut it very accurately for free and I ended up with 8 full 500mm x 500mm tiles as well as the extra Camilla Creek ones. The terrain itself is formed from 5mm thick blue foamboard available here:
http://shop.panelsystems.co.uk/craftfoam/modelling-foam/craft-foam-blue.html
This is glued to the MDF and the terrain sculpted into it. The MDF acts as the waterlevel with the terrain ontop.
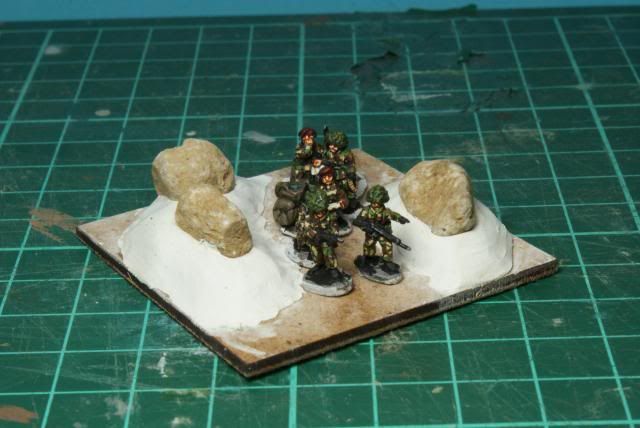
Here's a shot of one of the tiles. Updates to follow as we go through the construction. That's a Command base on the tile for scale. Dougie


B Company 2PARA Falklands 1982 in 10mm

Well folks got these boys finished, they'll be making an appearance in a demo game I'm running at Smoggycon in Middlesbrough on Saturday 23rd November. Be great to see as many folks as possible be sure to come and chat if you're at the show! Updates will be following very soon on where they're fighting and how I made the terrain.  Dougie
http://www.smoggycon.co.uk/

Major John Crosland and B Coy HQ. Follow the black hat!


4 Platoon. In formation 2 sections forward, 1 section back, Plt Comd in the centre.


5 Platoon


6 Platoon


Some support first off, Mortars


GPMGs


MILAN


Tuesday 5 November 2013

Monday 4 November 2013

10mm Command Bases Part 1

Work progressing on the 3 HQ Bases and 1 CO Base. The CO Base is 50mmx50mm and the HQs are 40mmx40mm. The first photo shows how I've built the bases up with milliput and added the main Woodland Scenics rock formations. For 1 of the HQs I wanted a stream so its built up using a layer of plastikard. Dougie
This photo shows the CO Base with the figures added.
Here I've added the ground paste and attached the smaller rocks and scree to an HQ Base.
Nearly there !