Thursday 28 January 2021

AAR Murrell Bridge - Falklands 7th June 1982

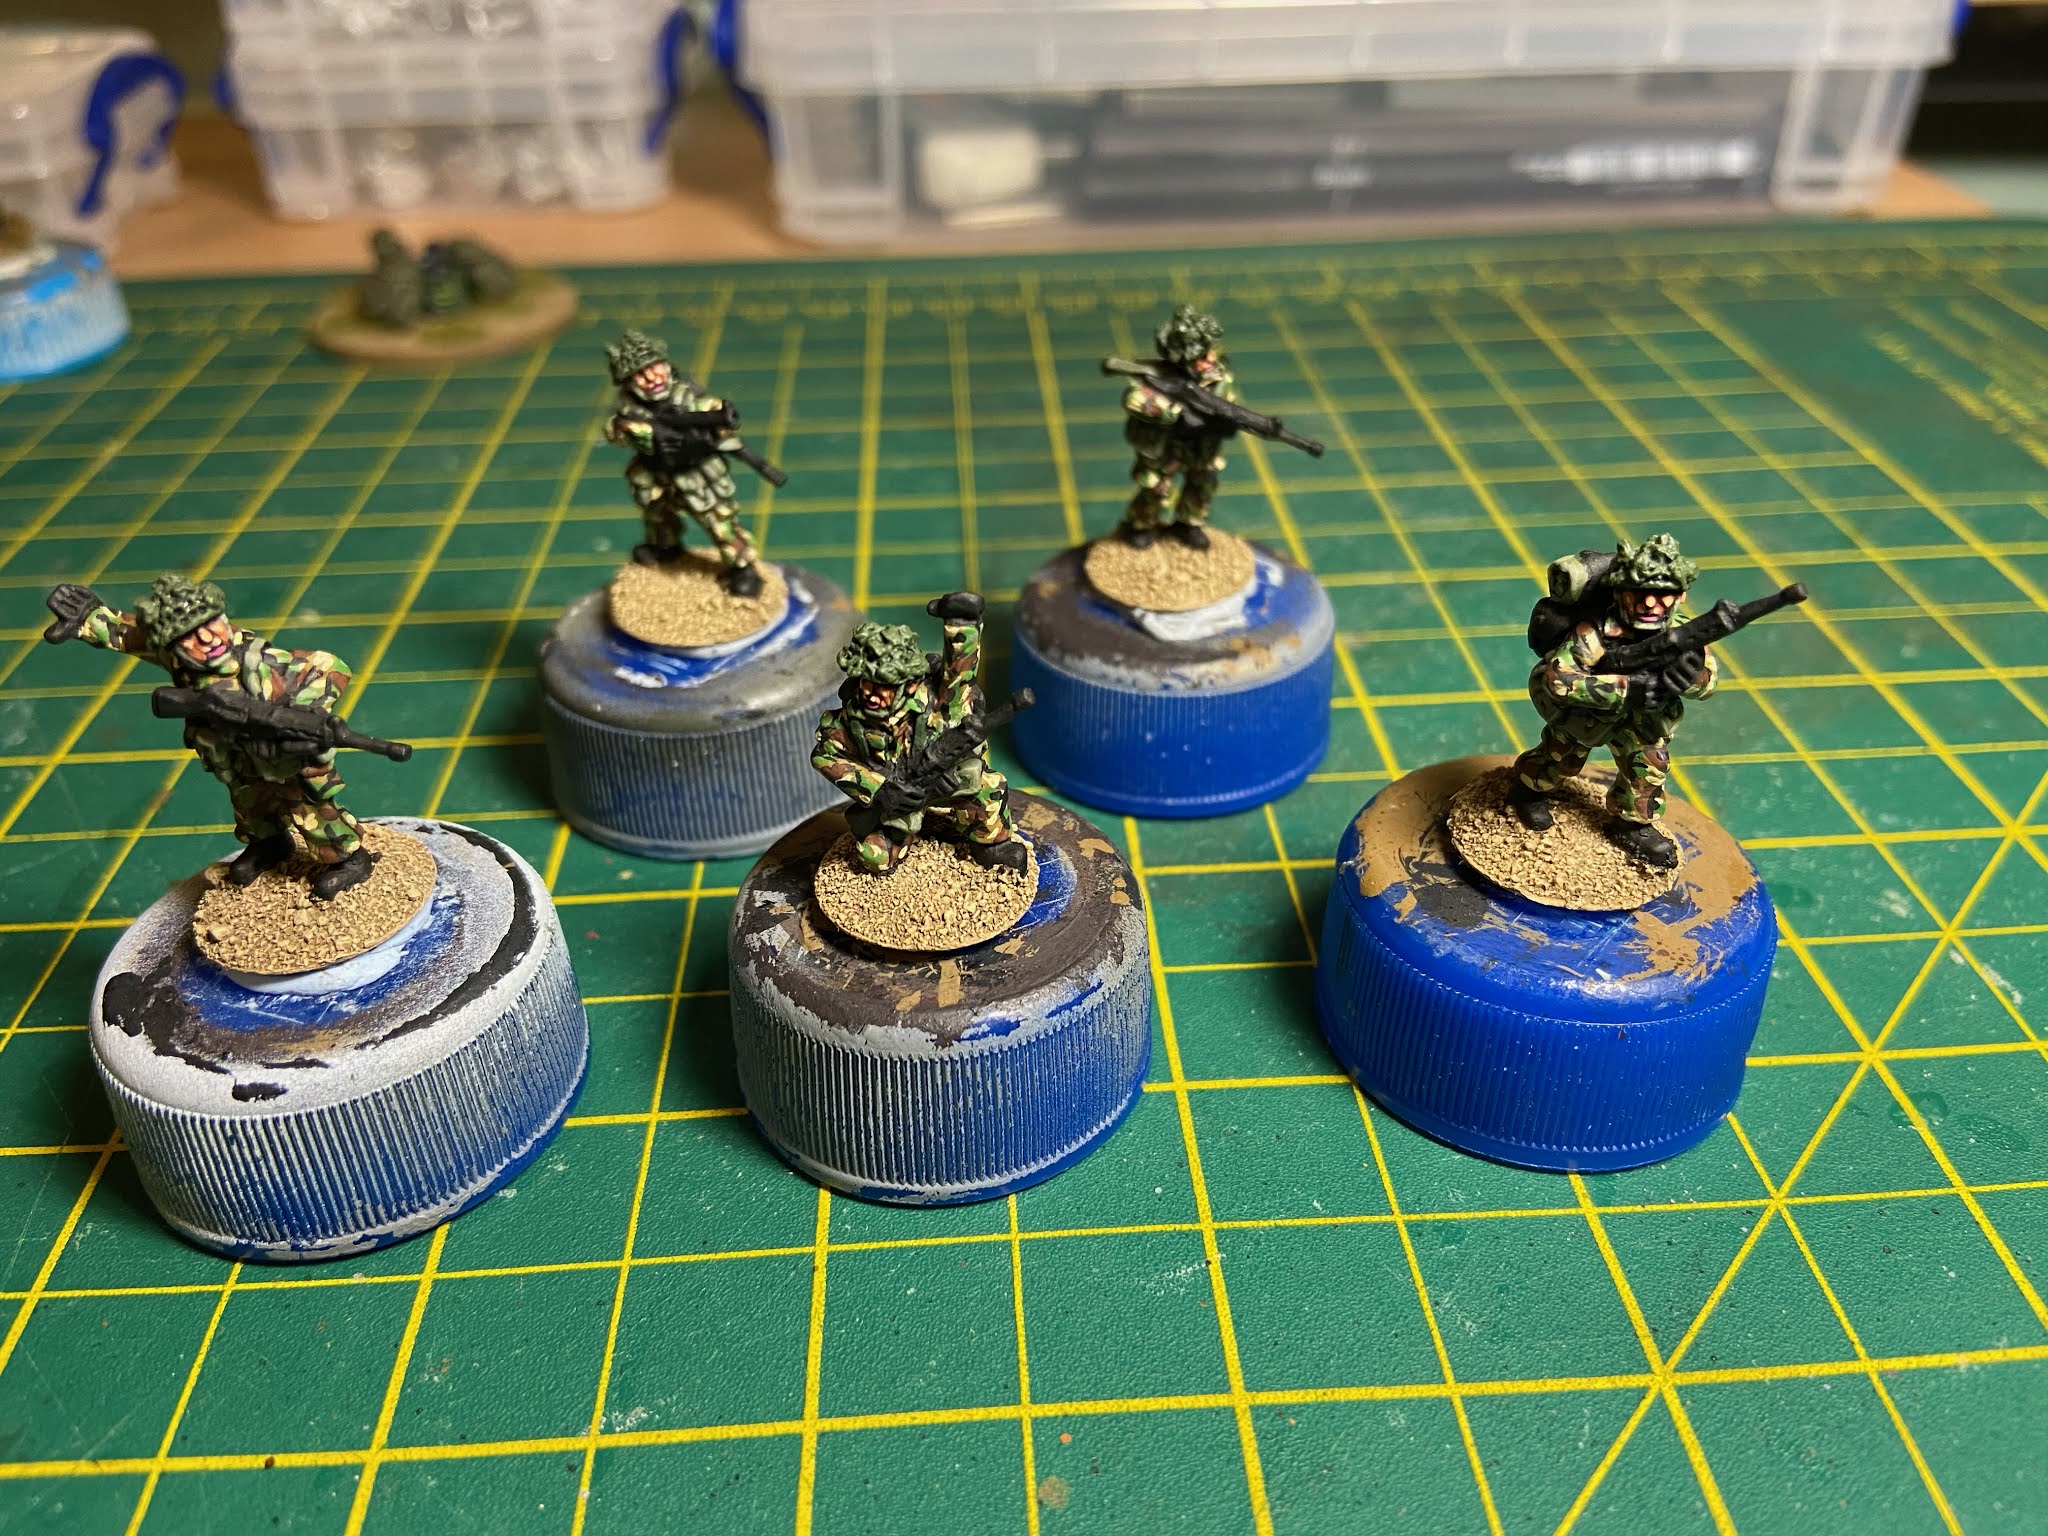
 This small scenario was played mainly to check out the night rules for Fireteam Modern, a system regular readers will know I rate.

Very briefly this was a short sharp engagement between elements of Patrols Company 3PARA and Comando Company 601/Guard Comando Company 601. Prior to 3PARA's attack on Mount Longdon elements of Patrol Company conducted night time reconnaissance onto the mountain and used the bluffs overlooking Murrel Bridge as a patrol base. Early morning on 7th June had 2 4 man patrols resting after a recce when Argentine elements of 601 crossed the Murrell Bridge towards 3PARAs position. Argentine troops were at least double the British forces. Patrols engaged the Argentine forces to start the engagement.

Here's an aerial view, 3PARA Patrols are located on the bluffs overlooking the bridge to the right of the picture, Argentine forces entered from the left crossing the bridge.


I played the Argentine Forces and my son, Alex played the Brits. Patrols were prone, "Down" in game terms and classed as hidden, Alex waited until 601 had crossed the bridge in a 2 forward 1 back position before engaging one of the units. The night rules caused him some problems initially spotting them but once he had he opened up he caused 1 KIA and 1 serious wound and a good load of suppression causing this unit to be "Suppressed". I managed to get activated, getting units forward in the centre and right flank however Alex again successfully engaged and halted the centre unit before deciding to withdraw without having time to pick up their bergans.
My right flank unit engaged one of the British patrols inflicting a serious wound casualty and putting a few suppression points on it.
Alex was by this stage extracting backwards towards the table edge when I tried to seize the initiative and tried with my right hand flanking unit to close the range and close assault.


601 closing in but about to feel the pain.


Alex was activated and put a withering hail of fire onto the 601 unit causing more casualties before managing to extract off the table ending the scenario.

The Argentines had forced the British to withdraw and captured the bergans, however at a high price, 3 KIA 6 wounded.

The British withdrew with 1 wounded.

Both Alex and I thought the night rules worked well and interestingly this was a similar result to the actual engagement.

For those interested there's a good account of this engagement in "Green-Eyed Boys" by Jennings and Weale pls 111-115.

Dougie


Wednesday 27 January 2021

Tuesday 19 January 2021

20mm British Airborne Platoon 1 Section Part 1

 1 Section underway, initially I'll be using the 3PARA orbat, so the sections will comprise a Rifle Group of Corporal Section Commander and 4 Privates and a Gun Group of Lance Corporal Section 2IC with a Private with GPMG and Private assistant gunner.

5 man Rifle Group on the left, 3 man Gun Group on the right.

To differentiate the different guys on the table I decided on the following system,

Section Commander - Figure using a hand signal

Section 2IC - Figure with bergan

Private Assistant Gunner - Figure with belt of link for the gun

You can see I've completed 3 of the section previously, next up was a little work on the gun team.


For the gunner I extended the flash suppressor on the GPMG and added an ammo belt, the Assistant gunner got a belt of link added.


Time to crack on with the painting.

Dougie

Friday 15 January 2021

20mm British Airborne Platoon HQ Completed

Completed.

From left to right, Platoon Commander, Platoon Sergeant, Radio Operator, Private option 1 L1A1 and M79, Private option 2 L1A1 and 2" mortar.


 Rear view of the M79 and 2" mortar guys.


Closer view of the Platoon Commander


Next up are 1 Section.
Dougie


Thursday 14 January 2021

20mm British Airborne Platoon HQ Part 2

 Following my normal system bases completed first then figures primed black, the photo below shows the figure at this stage and I've also dry brushed the helmet up, easier to do this first and avoid getting paint on the completed areas.


The faces were then completed.


The next stage was the DPM a little time consuming but no avoiding it.


Here's the Platoon Commander at this stage, I've also completed the webbing.


Next will be the weapons gloves and boots before my 2 stage varnishing then vegetation to complete.

Dougie

Saturday 2 January 2021

20mm British Airborne Platoon HQ Part 1

 First update on my Platoon HQ, this is going to consist of 4 figures, Pl Commander, Pl Sgt, Private Radio Operator and the 4th man will be either a Private with 2" mortar or an M79, depending on the scenario, so I've selected the 5 Liberation Figures I'm going to use.


For the 2" mortar guy I wanted him to have it slung so picked a suitable figure and started scratching the mortar. Made primarily from plastic rod then added some green stuff for the sleeve and after attaching to the figure added a green stuff sling.


For the M79 variation I picked the Liberation figure using the grenade launcher so I needed to add his L1A1 slung, an Elhiem casting. Again I attached the weapon and used green stuff to add the sling.


On to priming and paint.

Dougie