Showing posts with label Vehicle Tutorial. Show all posts

Tuesday, 7 March 2017

20mm Falklands Scimitar Finished

Eventually got the Scimitar finished! Dougie


 In theatre shot, Scimitar 23C of the Blues and Royals enroute to Wireless Ridge

Friday, 27 January 2017

20mm Falklands Scimitar Part4 Markings

I'm now on to the vexed question of markings, I initially thought of the standard number plates and markings for the Blues and Royals, here's a nice photo of Scimitar 23 Charlie.


This photo is on Ascension island on route south, and I'd ordered some of the Kingfisher decals, this photo is the landrover sheet but you get the idea.


On further digging it appears that the guys painted out the markings and insignia prior to operations for obvious reasons.


So the question to you folks is should I leave the insignia/markings off (Historically accurate) or should I put them on (Looks Nicer) ? Thoughts?  Dougie

Tuesday, 24 January 2017

20mm Falklands Scimitar Part3

Well I've applied the camo scheme using Ammo by Mig  and Vallejo Model Air acrylics. Its had a basic modulation, sometimes difficult to see on the photos but it is there! The 2 colour camo is fairly straight forward, the base green was modulated on first, I then added the blutak masks and sprayed the black and modulated it as well. Dougie

Green modulated on , I've used 3 shades

Blu Tak masked added

Black modulated on

Blu Tak removed

Once the paints on you can see the roughness of the casting, its not ideal but I'll hopefully get away with it once its completed!

Tuesday, 17 January 2017

20mm Falklands Scimitar Part2

Vehicle hit with Halfords primer and the commander painted. Next up are the camo colours put on through  the Iwata.
Dougie


Wednesday, 21 December 2016

Sunday, 18 December 2016

28mm Empress M-ATV Part 1

I'm painting this for a gaming buddy and its the first Empress vehicle I've tried and I have to say I'm impressed, very clean resin castings. I've avoided putting extra details on because it can be quite difficult to stop and the kit's quite nicely detailed anyway. I've followed my usual procedures and I've tried to photograph the various stages below. Dougie

The kit assembled into the basic components prior to priming.
 After priming, I used the excellent AK Interactive OEF/OIF paint set through the Iwata airbrush.
 I use a colour modulation system, first with a darker base coat then the AK colour and finally a lighter colour on the highlights.
 Difficult to see on the photos but you can see it better on the turret.
 A brown filter applied, then a pin wash.
 Some very light chipping, I didn't want a heavily worn look.
 Some light streaking grime added and the details painted in.
 Again a light weathering to the wheels and tyres

Not much to do to get it finished, a couple of whip aerials to add and assembly. Insignia hasn't been added the owner's going to do that himself should he feel the need.

Sunday, 29 March 2015

28mm Target Vehicle

An inconspicuous mode of transport for my players was required so after a visit to my local model car stockist I 've ended up with a Ford Escort in 1/43rd scale for £7.99. Dougie
 The Escort out of the box, very nice but far too clean for the border areas.
Dismantled for the dirty up process.
Filter applied and some chipping
Stains and rust marks added
Assembled and wheels dirtied ready for the border areas.

Sunday, 25 November 2012

Target Vehicle!

I've been looking around for suitable 70s-80s civilian vehicles for Ulster, a trip to my local model railway shop brought Oxford Diecasts to light. These are 1/76 scale painted and assembled diecast vehicles for use on OO gauge model railways. Very nicely done £3-£4 a shot and you could use them straight away, of course I didn't do this cause I like to tamper! On a serious note the vehicles are very, very nice but I wanted mine dirty and dull so here's how I did it. Oh by the way I managed to restrain myself from altering the number plates to NI ones. Dougie
A rather natty looking blue Ford Cortina. This is untouched straight out of the box!
A figure for scale
You remove a couple of screws and the car comes apart.
The body dirtied up and a few scratches added, not a fan of clear glass windows so they've had the treatment!
Reassembled and the glass glossed. Ready to transport some players.


Thursday, 13 September 2012

Painting a Mastiff

Guys, thought I'd put this tutorial on as I've had a few requests asking about my vehicle painting. First off I'd say get a copy of "FAQ AFV painting tecniques" by Mig Jimenez, or the newer "FAQ2 also by Mig. Now these books are expensive but they are worth the investment and your vehicle painting will improve! If the price puts you off get a copy of AFV Modeller Issue 59, this has a great article by Mig on how he painted a Panther II and covers most of the necessary tecniques. On to the Mastiff, a Britannia model, no appologies for being long winded its the way I paint :blink: Dougie
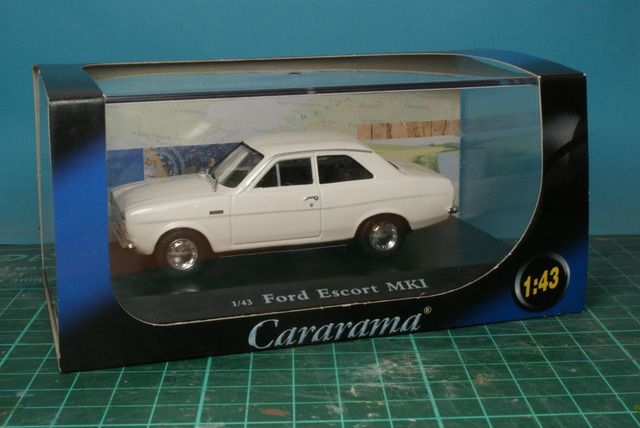
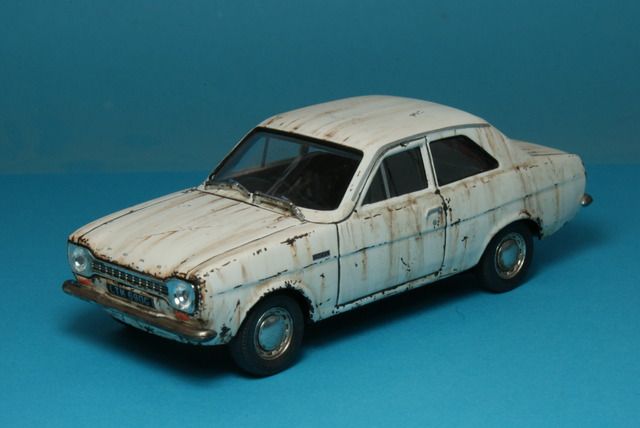
The beast as supplied
Image
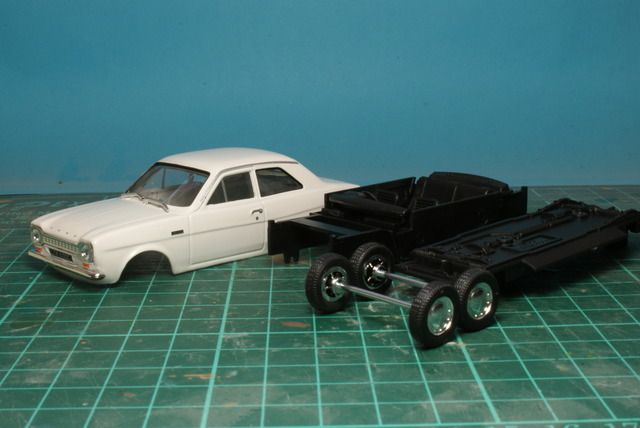
Assembled, all I've added are antenna bases and 2 wire cutters, made from brass angle iron.
Image
Primed with Halfords grey spray primer
Image
Base colour on Hannants Xtracrylix XA1813 British Gulf Armour Lt. Stone BS361
Image
Highlights sprayed on, the above colour lightened, I know its difficult to see on the photo but it was done, honest
Image
Filter applied, Sin Industries Brown Filter
Image
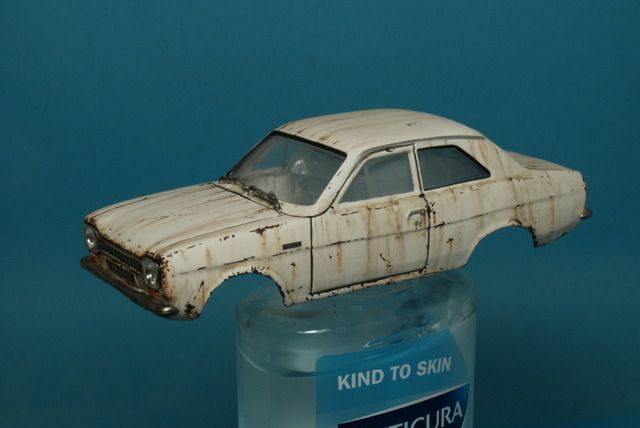
Pin Wash using Mig Dark Wash
Image
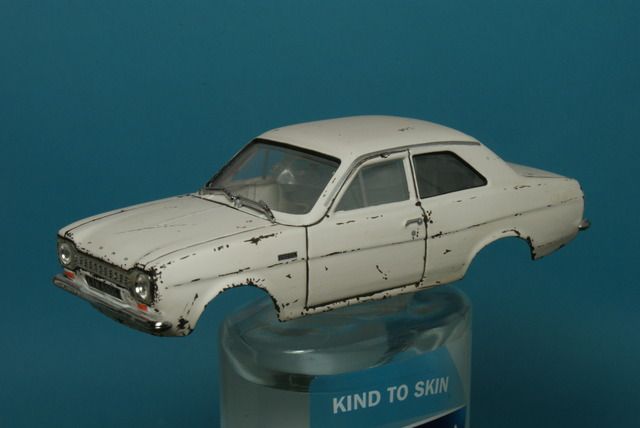
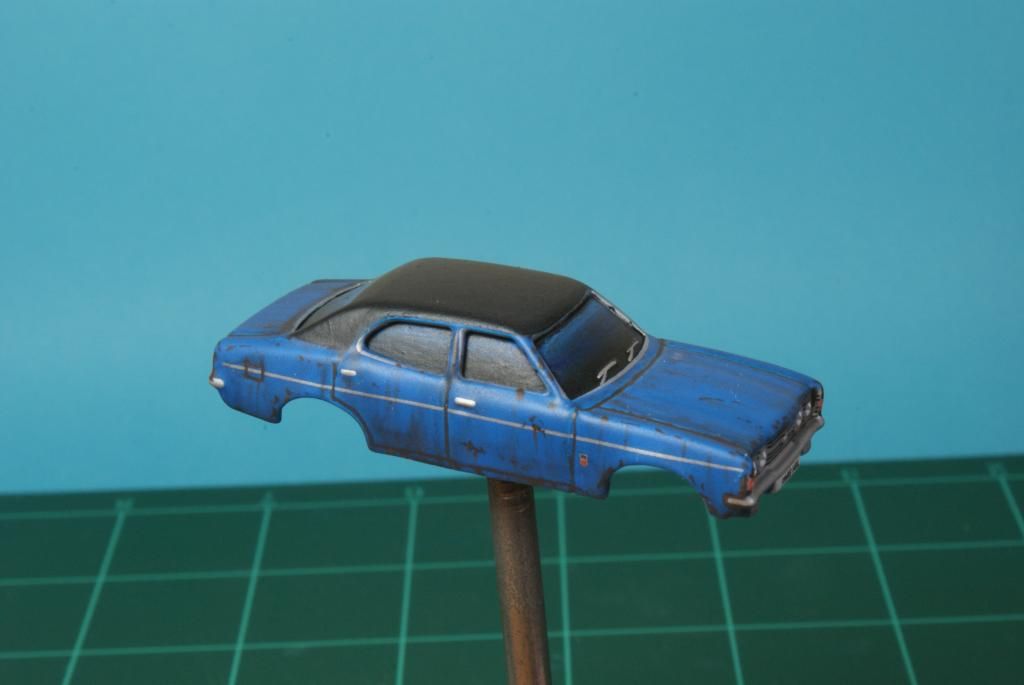
Very light drybrushing followed by chipping with Vallejo 822 SS Cam Black Brown
Image
Image
Details painted, wheels, windows, straight bars
Image
Image
Windows masked
Image
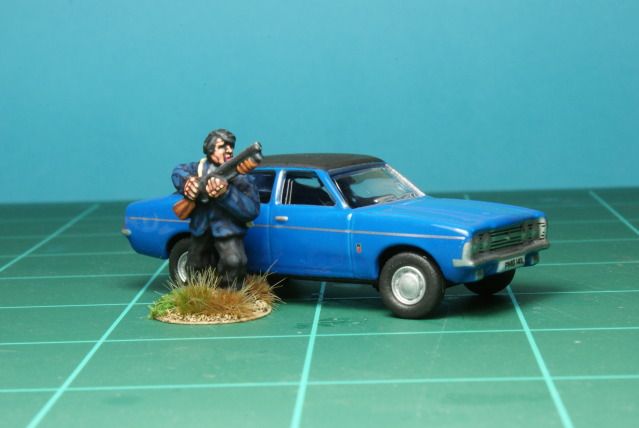
Based, figures added, aerials attached, and given pigment treatment, dust applied, Tamiya Buff, finished at last :grin:
Image