Showing posts with label AARs. Show all posts

Saturday, 15 January 2022

Skirmish Sangin South Armagh

 A recent game me and the boy played, although Skirmish Sangin is designed for the war in Afghanistan it works really well for any modern low level skirmish scenario or theatre. South Armagh fits well with the British Army's fight with PIRA. There's other content relating to Skirmish Sangin on the blog just check out the subject headings.

The basic game scenario was that following a PIRA ASU being compromised the 7 man unit had fled across the fields towards a British 4 man patrol from the recce platoon of the resident battalion.

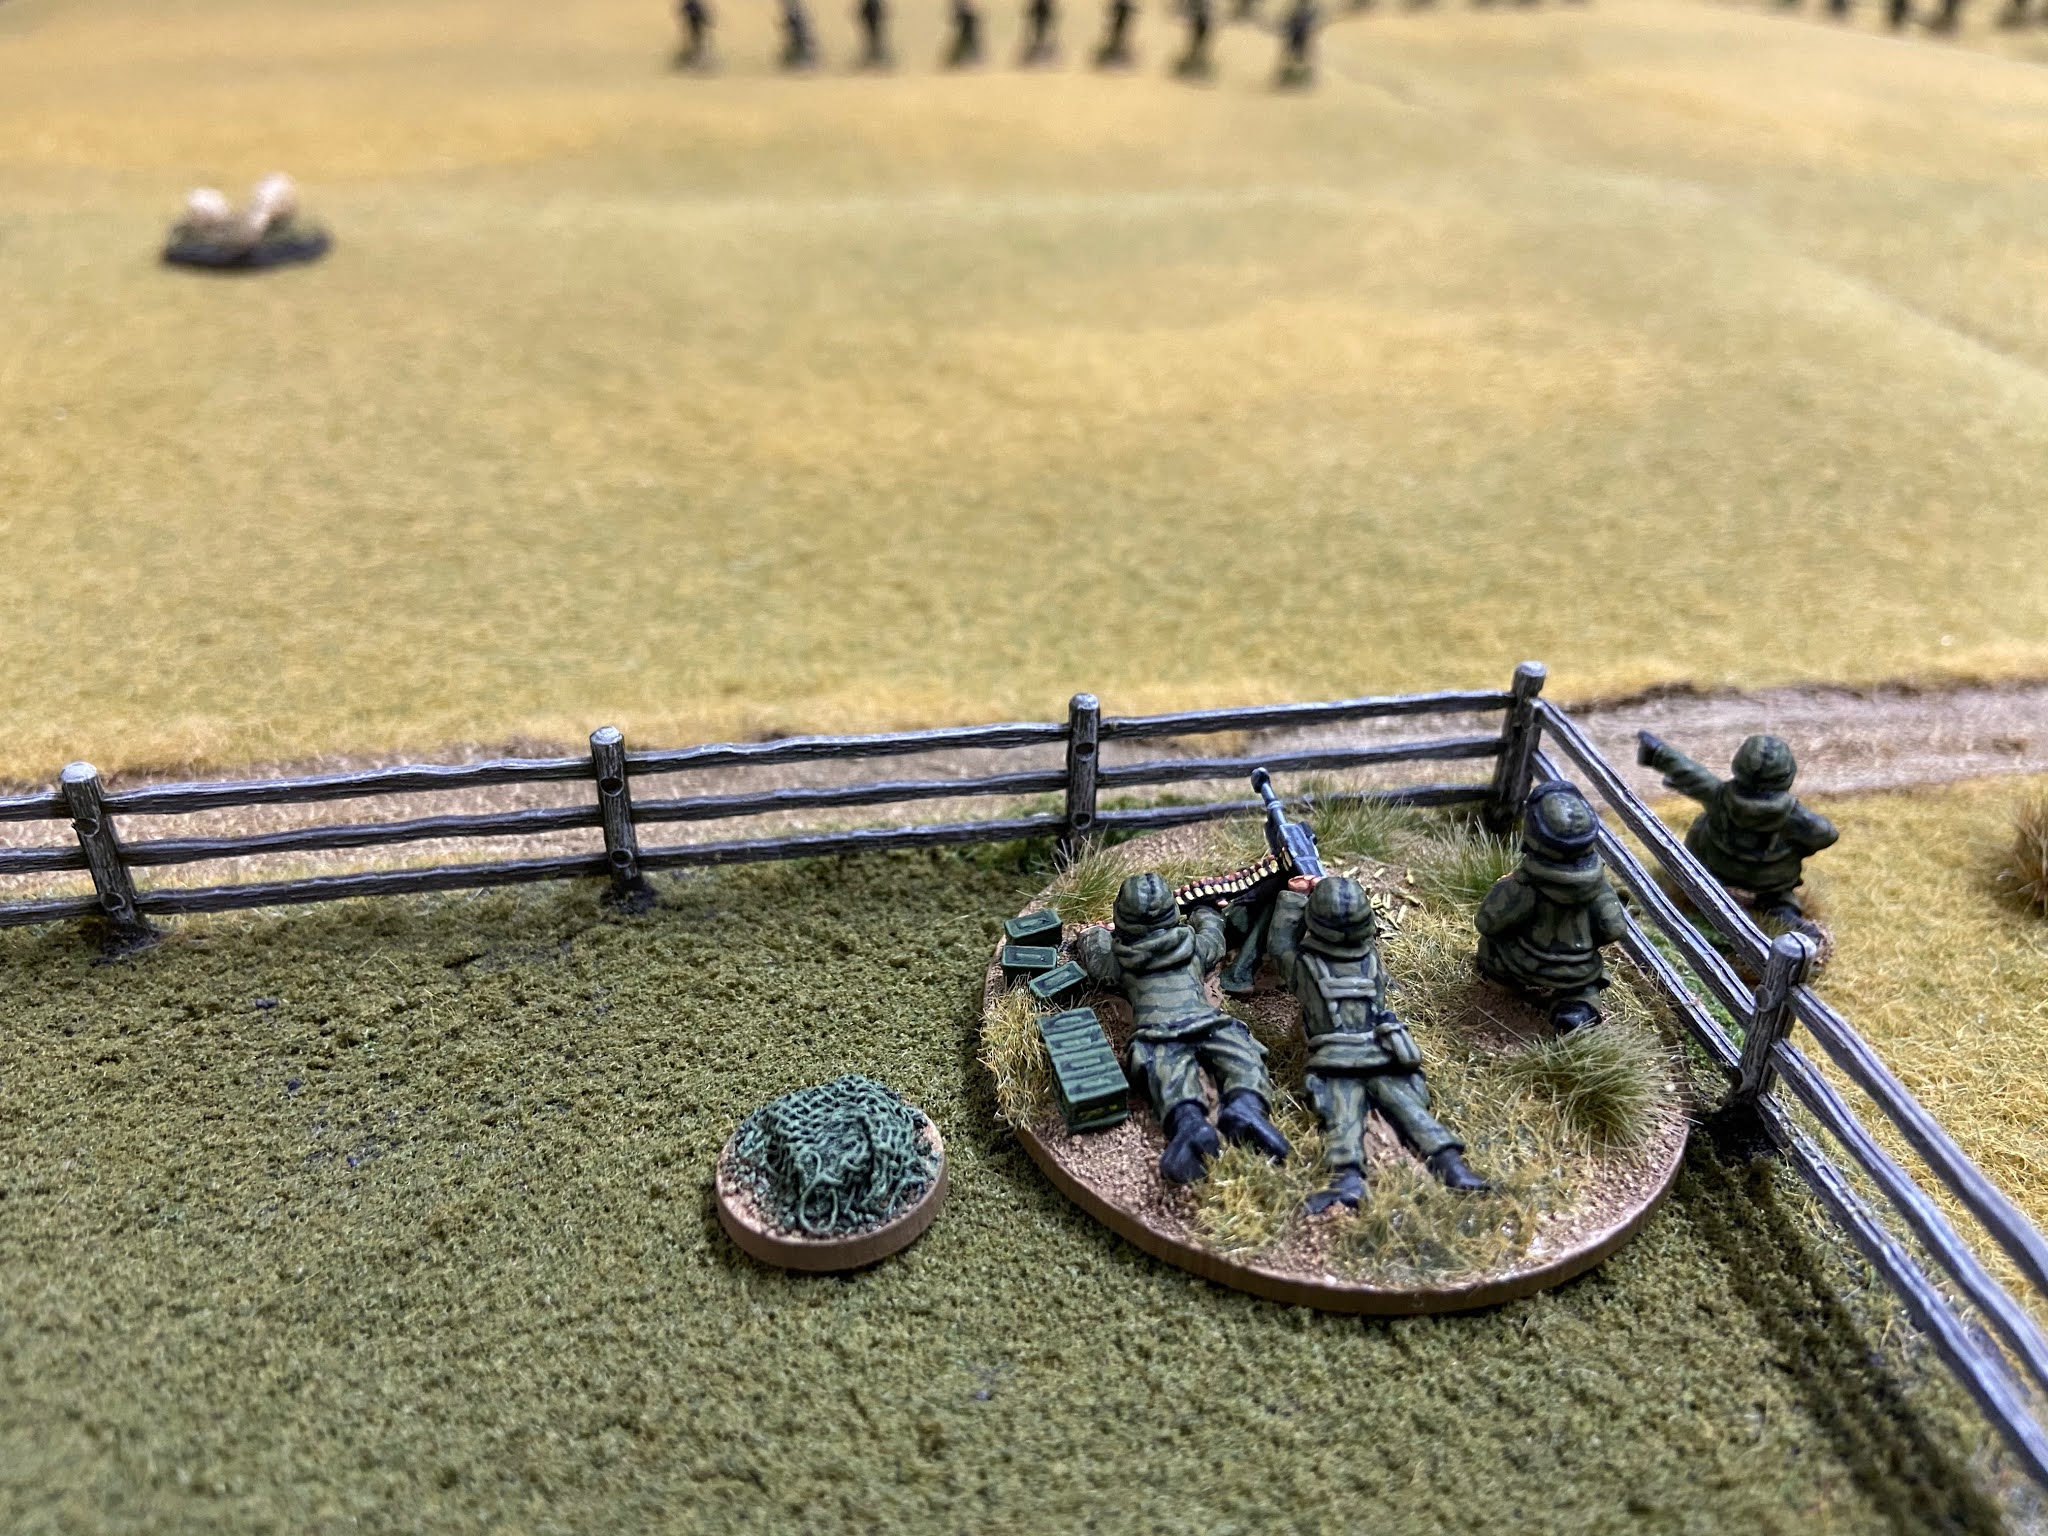
Here's the terrain, the game was played using my 28mm figures


Some details


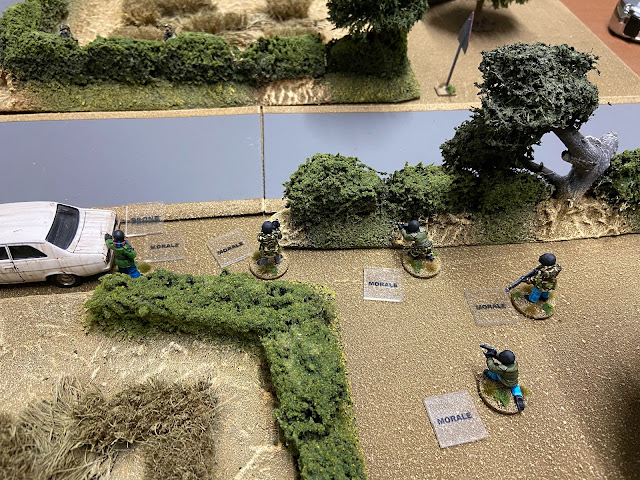
The Brits deployed first in the hedgerows


The compromised ASU entered from the bottom left hand corner of the board running


The engagement went as expected with the Brits following the "Yellow Card" procedure and initiated an ambush this caused massive morale checks on the terrorists who after a short firefight surrendered, of the 7 the result was 1 shot dead, 1 seriously wounded, 4 surrendered and 1 managed to run off last seen heading towards the border.


Regulars will already know I really rate this system and as usual it performed well.

Dougie


Friday, 6 August 2021

Falklands AAR Night Platoon Attack

 A scenario to run through the night rules in Fireteam Modern. A British Platoon Attack, part of a larger engagement, on an Argentine held Tin Villa out in "The Camp".

The Brits were attacking with a Platoon, in defence the Argentinians Had a couple of fireteams, aGPMG team and a small HQ element. As already stated this was a night action.

Here's a view of the terrain and dispositions

Some other views


The Argentinian GPMG opened up causing some pins on the nearest British section, but not causing any casualties, 2 of the British sections responded causing lots of pins effectively suppressing the GPMG team. The Argentinian HQ element activated and moved across to try and stabilise the team and remove some pins.


The Brit section on the far side was hit suffering 1 KIA and 2 WIA, luckily the Platoon HQ arrived, the medic sorted the WIA and the Platoon Commander and Sgt managed to remove some pins.


The Brits then really got organised and effectively won the firefight on their left flank causing the Argentinian fireteam to break and rout off table. On the other flank the Brit Section close assaulted the Argentinian position causing casualties and breaking them, the remaining Argentinian forces then surrendered. A British victory, albeit with 2 KIA and 2 WIA/Treated. The Argentinians had 2 KIA, 3 WIA, a Fireteam routed off into the night and the remainder including the HQ surrendered.


Once again these rules performed really well and I would recommend them to all!

Dougie


Thursday, 28 January 2021

AAR Murrell Bridge - Falklands 7th June 1982

 This small scenario was played mainly to check out the night rules for Fireteam Modern, a system regular readers will know I rate.

Very briefly this was a short sharp engagement between elements of Patrols Company 3PARA and Comando Company 601/Guard Comando Company 601. Prior to 3PARA's attack on Mount Longdon elements of Patrol Company conducted night time reconnaissance onto the mountain and used the bluffs overlooking Murrel Bridge as a patrol base. Early morning on 7th June had 2 4 man patrols resting after a recce when Argentine elements of 601 crossed the Murrell Bridge towards 3PARAs position. Argentine troops were at least double the British forces. Patrols engaged the Argentine forces to start the engagement.

Here's an aerial view, 3PARA Patrols are located on the bluffs overlooking the bridge to the right of the picture, Argentine forces entered from the left crossing the bridge.


I played the Argentine Forces and my son, Alex played the Brits. Patrols were prone, "Down" in game terms and classed as hidden, Alex waited until 601 had crossed the bridge in a 2 forward 1 back position before engaging one of the units. The night rules caused him some problems initially spotting them but once he had he opened up he caused 1 KIA and 1 serious wound and a good load of suppression causing this unit to be "Suppressed". I managed to get activated, getting units forward in the centre and right flank however Alex again successfully engaged and halted the centre unit before deciding to withdraw without having time to pick up their bergans.
My right flank unit engaged one of the British patrols inflicting a serious wound casualty and putting a few suppression points on it.
Alex was by this stage extracting backwards towards the table edge when I tried to seize the initiative and tried with my right hand flanking unit to close the range and close assault.


601 closing in but about to feel the pain.


Alex was activated and put a withering hail of fire onto the 601 unit causing more casualties before managing to extract off the table ending the scenario.

The Argentines had forced the British to withdraw and captured the bergans, however at a high price, 3 KIA 6 wounded.

The British withdrew with 1 wounded.

Both Alex and I thought the night rules worked well and interestingly this was a similar result to the actual engagement.

For those interested there's a good account of this engagement in "Green-Eyed Boys" by Jennings and Weale pls 111-115.

Dougie


Friday, 27 November 2020

AAR "Downtown Basra Iraq 2006"

 This is a small scenario which myself and my eldest played recently using out current favourite ruleset "Fireteam Modern".

A 2 man covert British SF vehicle has been "dicked" and compromised by Iraqi insurgents at a crossroads in downtown Basra. Luckily a British regular section of 2 fireteams is near and assists.

Here's a shot of the very small table.


Some views around the table before showtime, the red covert vehicle the SF guys were in has caught fire


The game started with the SF out of the car and on activation the insurgents deploying to numbered points on the table.


Insurgents deploying


The British regulars managed to get a Fireteam on a rooftop to overwatch and the second Fireteam close assaulted a rapidly deployed insurgent group killing 2 and taking 2 prisoners, the SF pair engaged the closing insurgents causing casualties and numerous suppression points. Extracting off table with the 2 fireteams one of the SF guys was seriously wounded. The Insurgents had a group fall back off table due to a morale test and sustained 3 dead and 3 seriously wounded as well as loosing the 2 prisoners so a British victory by any measure.


As usual the rules performed brilliantly and I can't recommend them enough.
Dougie

Tuesday, 21 April 2020

AAR Fireteam Modern 2020

I wanted to try out this new edition of the rules so used a favourite small scenario from the Falklands War, the raid on Top Malo House. For those who aren't aware of this engagement it happened on the early morning of 31st May 1982 when elements of Argentina's Comando 602 sought shelter in an abandoned farm house to escape the appalling weather. They did this without posting any sentries. Unbeknown to them their activities had been observed by a patrol of the Royal Marines Mountain and Arctic Warfare Cadre who were posted on the Malo Hills to provide a flank guard for the march of 3PARA and 45 Commando along the coastal plain. The British attacked with surprise, the Argentinians tried in vain to resist, exiting the house which had caught fire and subsequently surrendered, their were casualties on both sides.
This is a small scenario, less than 20 combatants on each side, our game gave the British teams initiative to start then went to the card system. This is the view from the British deployment side with Top Malo House in the distance with peat cuttings to either side and backed by a stream.


An aerial video

The engagement started with the British support teams firing 3 66mm LAWs and small arms fire at the building causing an initial 3 casualties and a fair bit of suppression. 602 got 2 teams out of the building into the peat cuttings at either side for cover and returned fire which caused a small amount of suppression for the Brits. The 3rd team remained in the building and took up firing positions at the windows. The Brits then got the run of the cards engaging the left peat cutting causing casualties, more suppression and a morale check with 602 failed causing them to fall back. In the meantime the house had caught fire the 3rd team exited and took cover in the lee of the building.
As this was happening the Bits had also engaged the right hand peat cutting, 602 put up slightly stiffer resistance here but again eventually began falling back
The 602 team sheltering behind the building motivated themselves and came round to engage the Brits but by this stage the Brits were in a flanking position and hit 602 hard, the resulting casualties and suppression caused morale checks again and 602 surrendered. Endex.


Interestingly this is a very near approximation of what happened in the engagement. 
To sum up this rule set works really well, I'm impressed, don't hesitate to get a copy.
Dougie

Wednesday, 12 July 2017

"Combat Patrol" AAR Raid on Top Malo House Falklands 1982

I've refought this engagement a number of times using different systems. This time me and Alex used "Combat Patrol".
I'll not detail the history here, its widely available, suffice to say that during the Falklands war a 19 man patrol from the M&AWC assaulted Top Malo House which was occupied by 17 men of Commando 602. The Argentine forces did not have sentries posted.
Scenario played in 20mm. Dougie

Here's an overview of the board. 602 deployed in Top Malo House, M&AWC enter from the top of the table.
 

Close ups of the boards


Figures and cards


To ease play I used a floor plan for the internal layout of the building
 
 
 Alex deployed the Brits and began his assault


 After 602 were woken by the assault I tried to deploy my troops outside and into the cover of the stream bed.


 At this point the building got 66'd (M72 LAW) which caused mass casualties to my troops inside, numerous dead and stunned !


 It was probably endex for me at this stage but my troops outside tried to hold the Brits off to no great effect albeit causing some casualties from the ground floor windows by a couple of 66 survivors. Alex close assaulted the stream bed causing more casualties and at this point 602 called it a day and surrendered.


 The system worked well, its very quick with very little consulting rules as virtually all the info is on the cards.
At Endex the Brits had captured the house at a cost of 4 KIA and 2 wounded. 602 suffered 11 KIA, 2 wounded, 1 run off and the remainder surrendered.