My gaming oppo has a lot of mdf destroyed city buildings that we've been using for our Chechen games, I wanted to try my had at scratch building a destroyed apartment block using blue craftfoam, I wanted it heavily destroyed with rubble but still usable as a gaming piece, so having all levels accessible for figures.
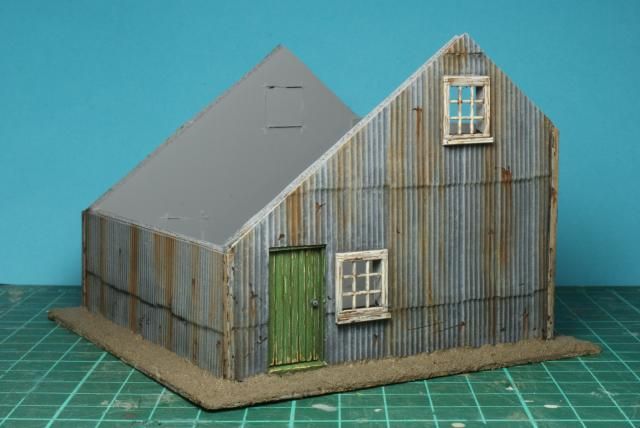
This is the sort of building I had in mind.
I did some rough sketches of what I wanted mainly to get the levels right, I standardised doors at 35mm x 20mm and windows at 20mm x 20mm. A level worked out at about 55mm high. I eventually decided on a 6 level block with the upper level slightly taller to allow for a walkaround area. The block ended up at 350mm high and to keep it manageable I kept the sides to 300mm and the endwall with the lift shaft/stairwell at 200mm. Once I was sorted I cut the basic structure out of blue craftfoam
The structure was glued and pinned using standard white glue.
The floors added.
I made the base, again from 5mm craftfoam backed on 2mm mdf for strength, and carved in some cracked pavements. I considered the rubble question and obviously with the amount of destruction the building has had the rubble would be piled to the first or second storey, this would however make it very difficult to place figures so I decided to add some rubble to give an impression of the destruction but still make it accessible for figures. The rubble itself was a mixture of broken pollyfilla that had been poured into a tray to set then smashed and Woodland scenics talus.
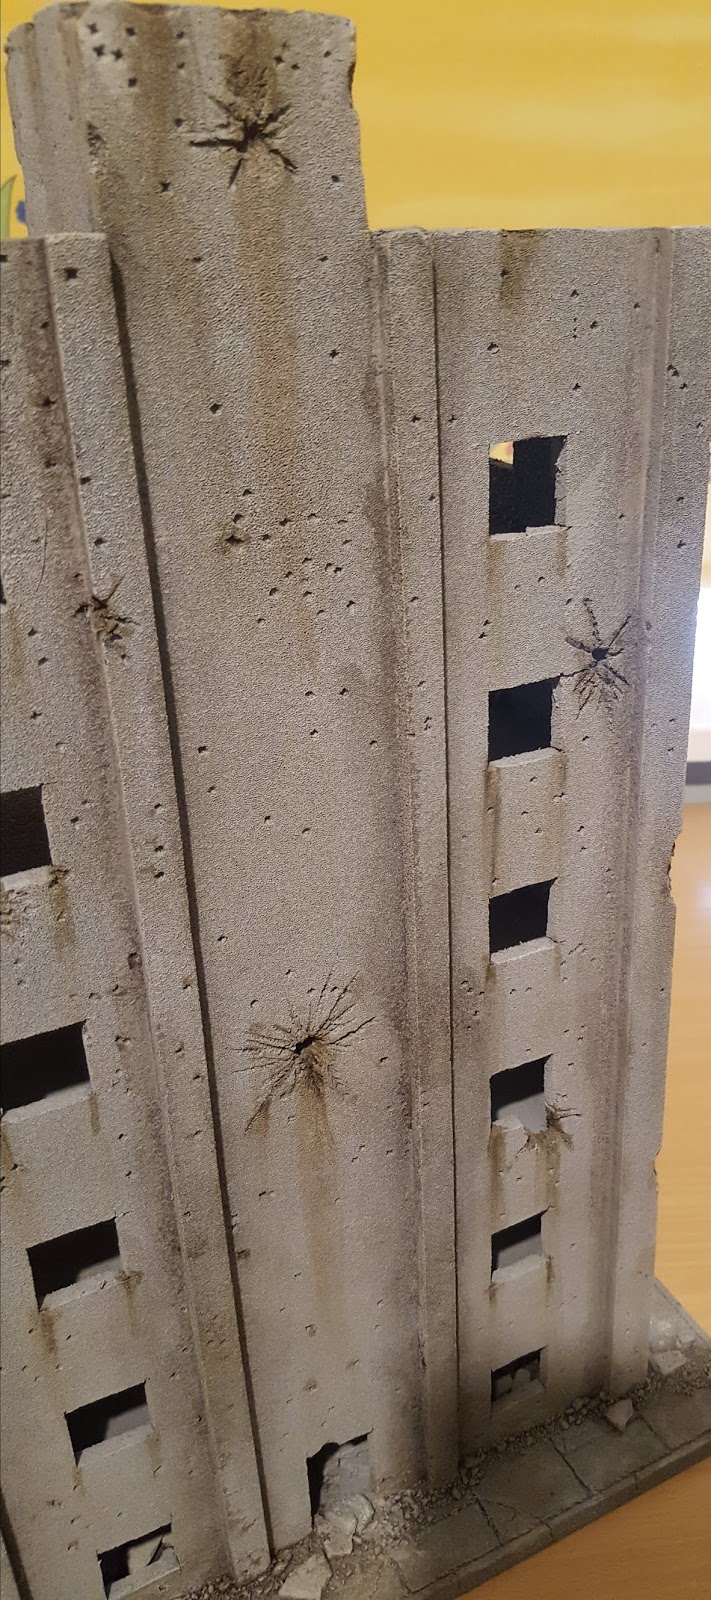
The whole building was then sprayed with Halfords grey primer, virtually a full can!!!
Next up in part 2 is the painting proper and some small amounts of detailing, I find it really easy to get carried away with details so I'm trying to keep this to a minimum. Hopefully!
Dougie